
There are many different cases in which a store wide notice can be desired. Whether you’re having a big sale, offering free shipping or just want to catch your visitors attention with a message. In this post I’ll show two ways of adding such notice, one way through a simple code snippet, and the other through a plugin.
Both ways will include some simple styling inline to improve the looks of the notice.
Store Wide Notice Through a Code Snippet
The following code snippet adds a banner type of notice at the top of your store. You can safely customize the text and styling to fit your own needs and store design.
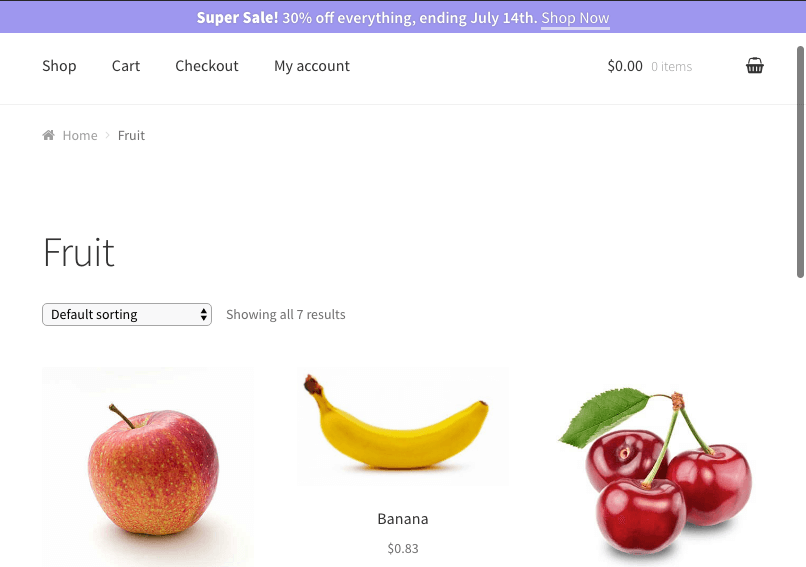
Note! If you’re logged in and looking at the front-end it may be that the admin bar is obfuscating the banner, so you may want to look at it while logged out / in a private window.
It is a pretty simple banner, but very effective to attract the attention of your visitors.
Store Wide Notice Using a Plugin
If you’re looking for more customization such as when, where and for who the banner should show you can use a plugin. The Advanced Messages plugin was made for this kind of thing. With conditions you’ll be able to determine when and for who a message (banner/notice) should show.
First step would be to create a new Message. Head over to the WooCommerce > Messages settings page and click “Add new”.
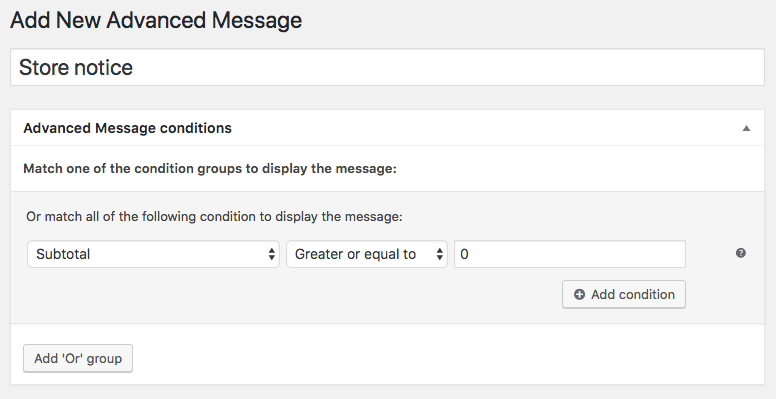
Provide a title fitting for your store banner.
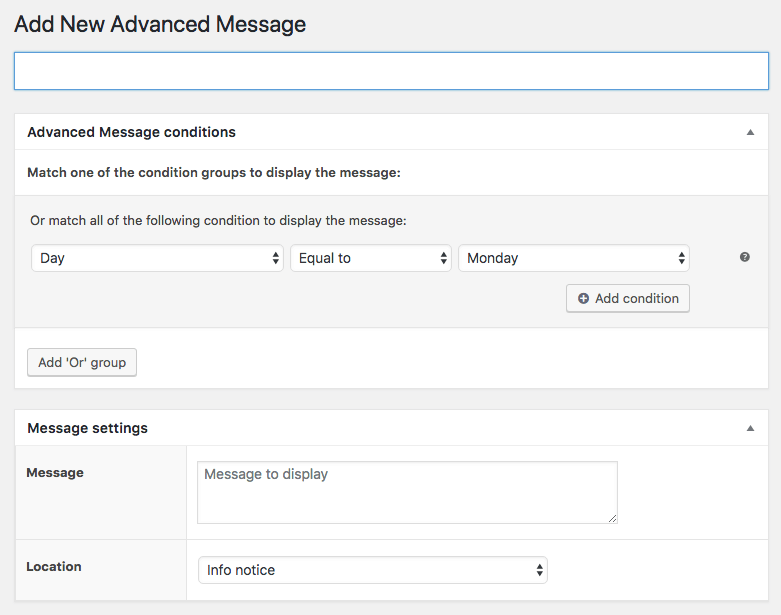
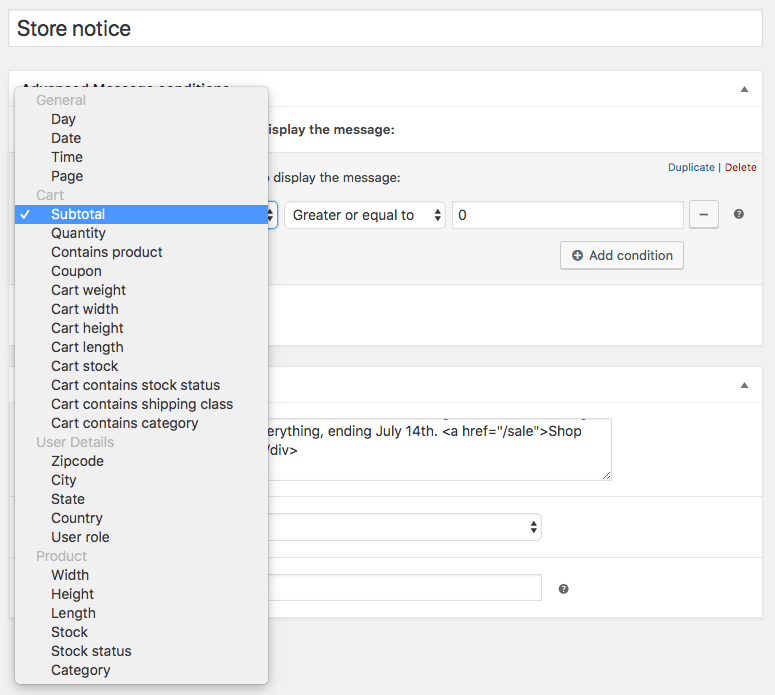
Next up is setting the proper conditions for when this banner should show up. I’ll set a condition that will *always* match – but you can of course change this to any of the available conditions / combination that fit your requirements.
Lastly we need to configure the settings that display the message, and the location its positioned. For this you can simply copy the HTML code for the banner structure, and implement the CSS accordingly into your site (its also possible to just copy/paste it into the “Message” field too if you’re feeling lazy ;-)
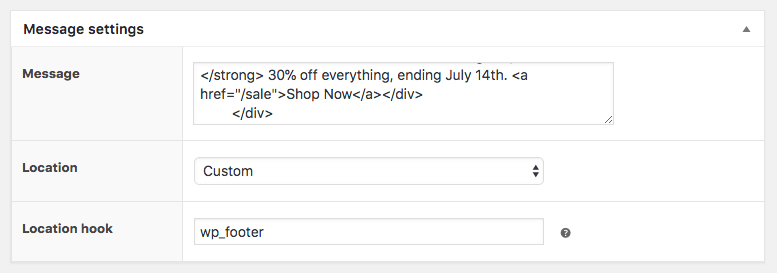
For the “Location” setting I’m choosing “Custom” as that will allow for choosing a action hook that is working on page, in this case wp_footer.
With all this implemented it will give the same result;
But with a added bonus of having a User Interface to change the banner at any given time, and the ability to add any of the conditions to only include or exclude the message from showing in certain cases.
This code provided should have a “X” button for closing it so it does not always stay open..
Awesome, the snippet was just what I needed. Thanks!